| a. |
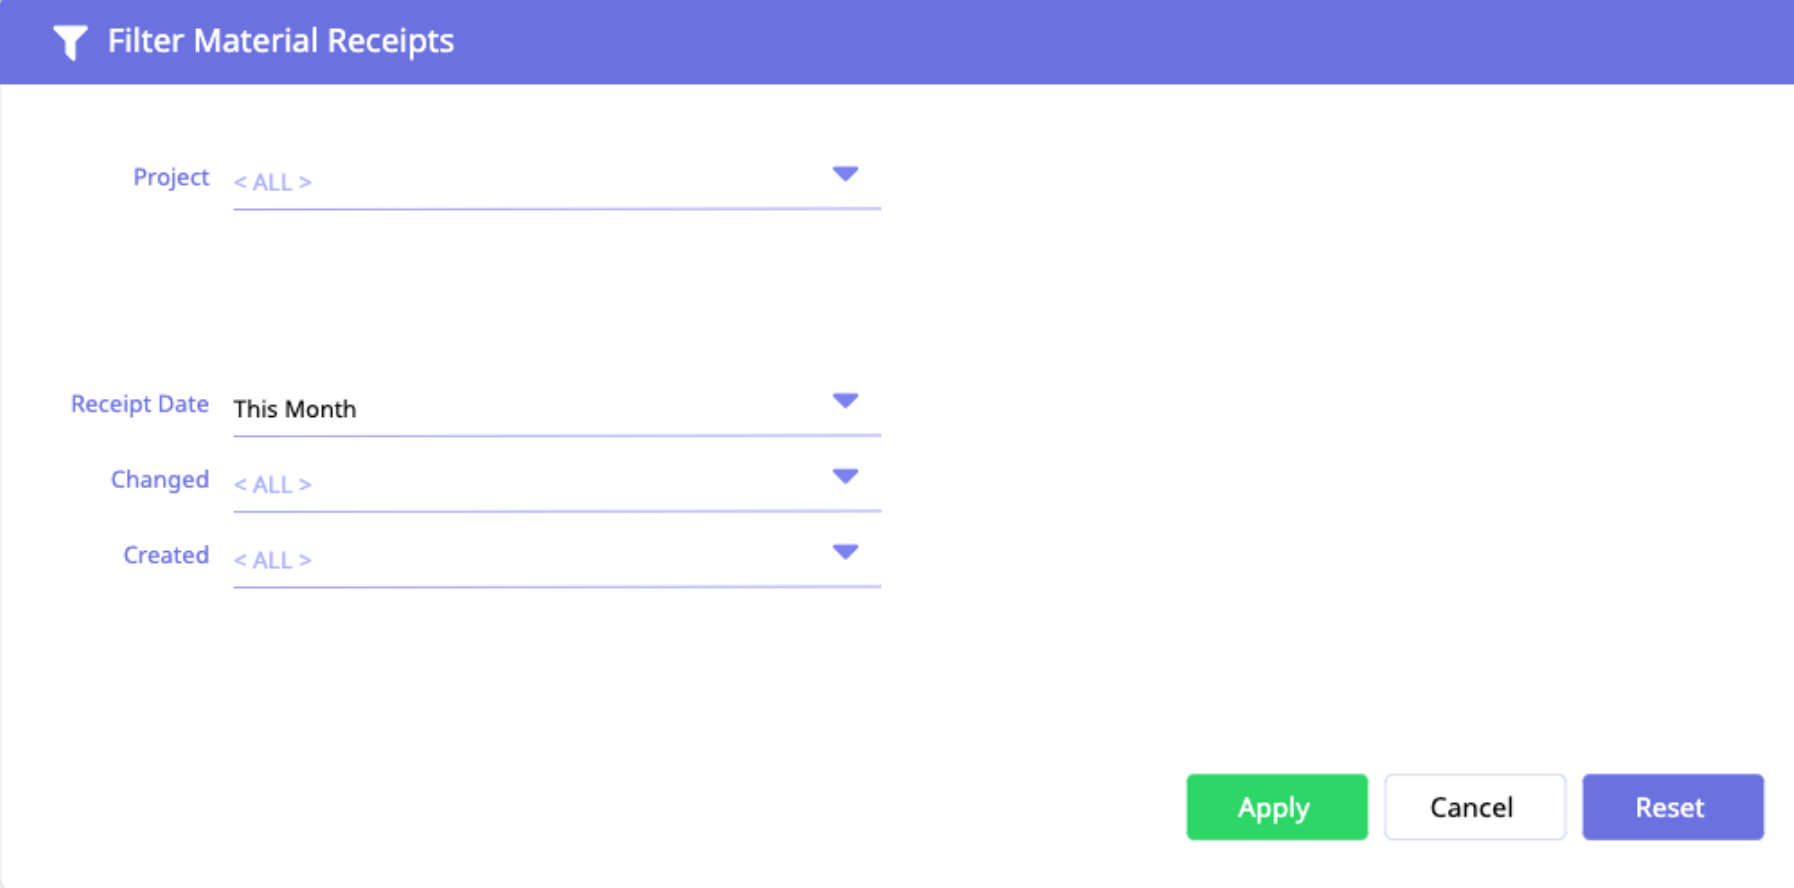
Filter Panel: If any filters have been applied to the Material Receipt Log they will display in this panel. You may click on this panel or the Filter icon to open the Filter dialogue and apply filters to the Material Receipt Log based upon project, receipt date, date changed, and date created.
 |
| b. |
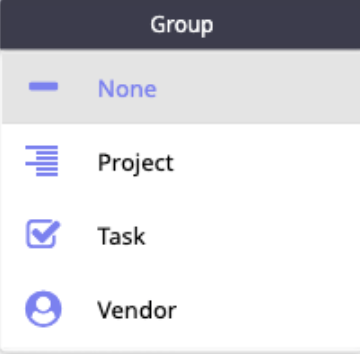
Group: Click to change the way that data is displayed, grouping material receipts based upon project, task, or vendor.
 |
| c. |
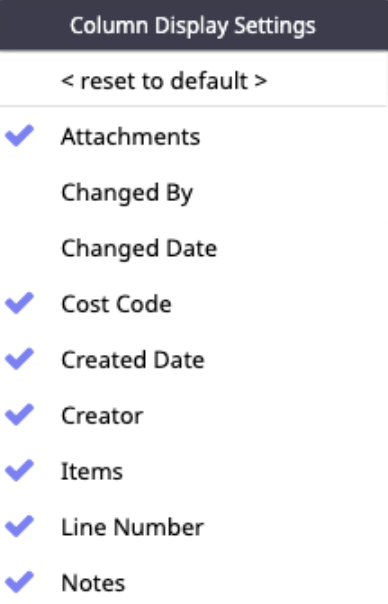
Column Headers: Customize the columns that are displayed in the Power Grid layout by selecting/deselecting them in this menu.
 |
| d. |
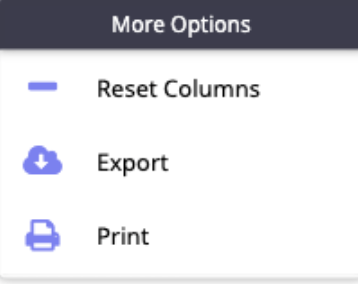
More Options: Click into this menu to reset column width, export the Material Receipt Log as an .xls document, or to print to PDF.
|
| e. |
Material Receipt Entry: Each line in the Material Receipt Log represents a single entry. Each entry may have multiple items or attachments associated with it. |
| f. |
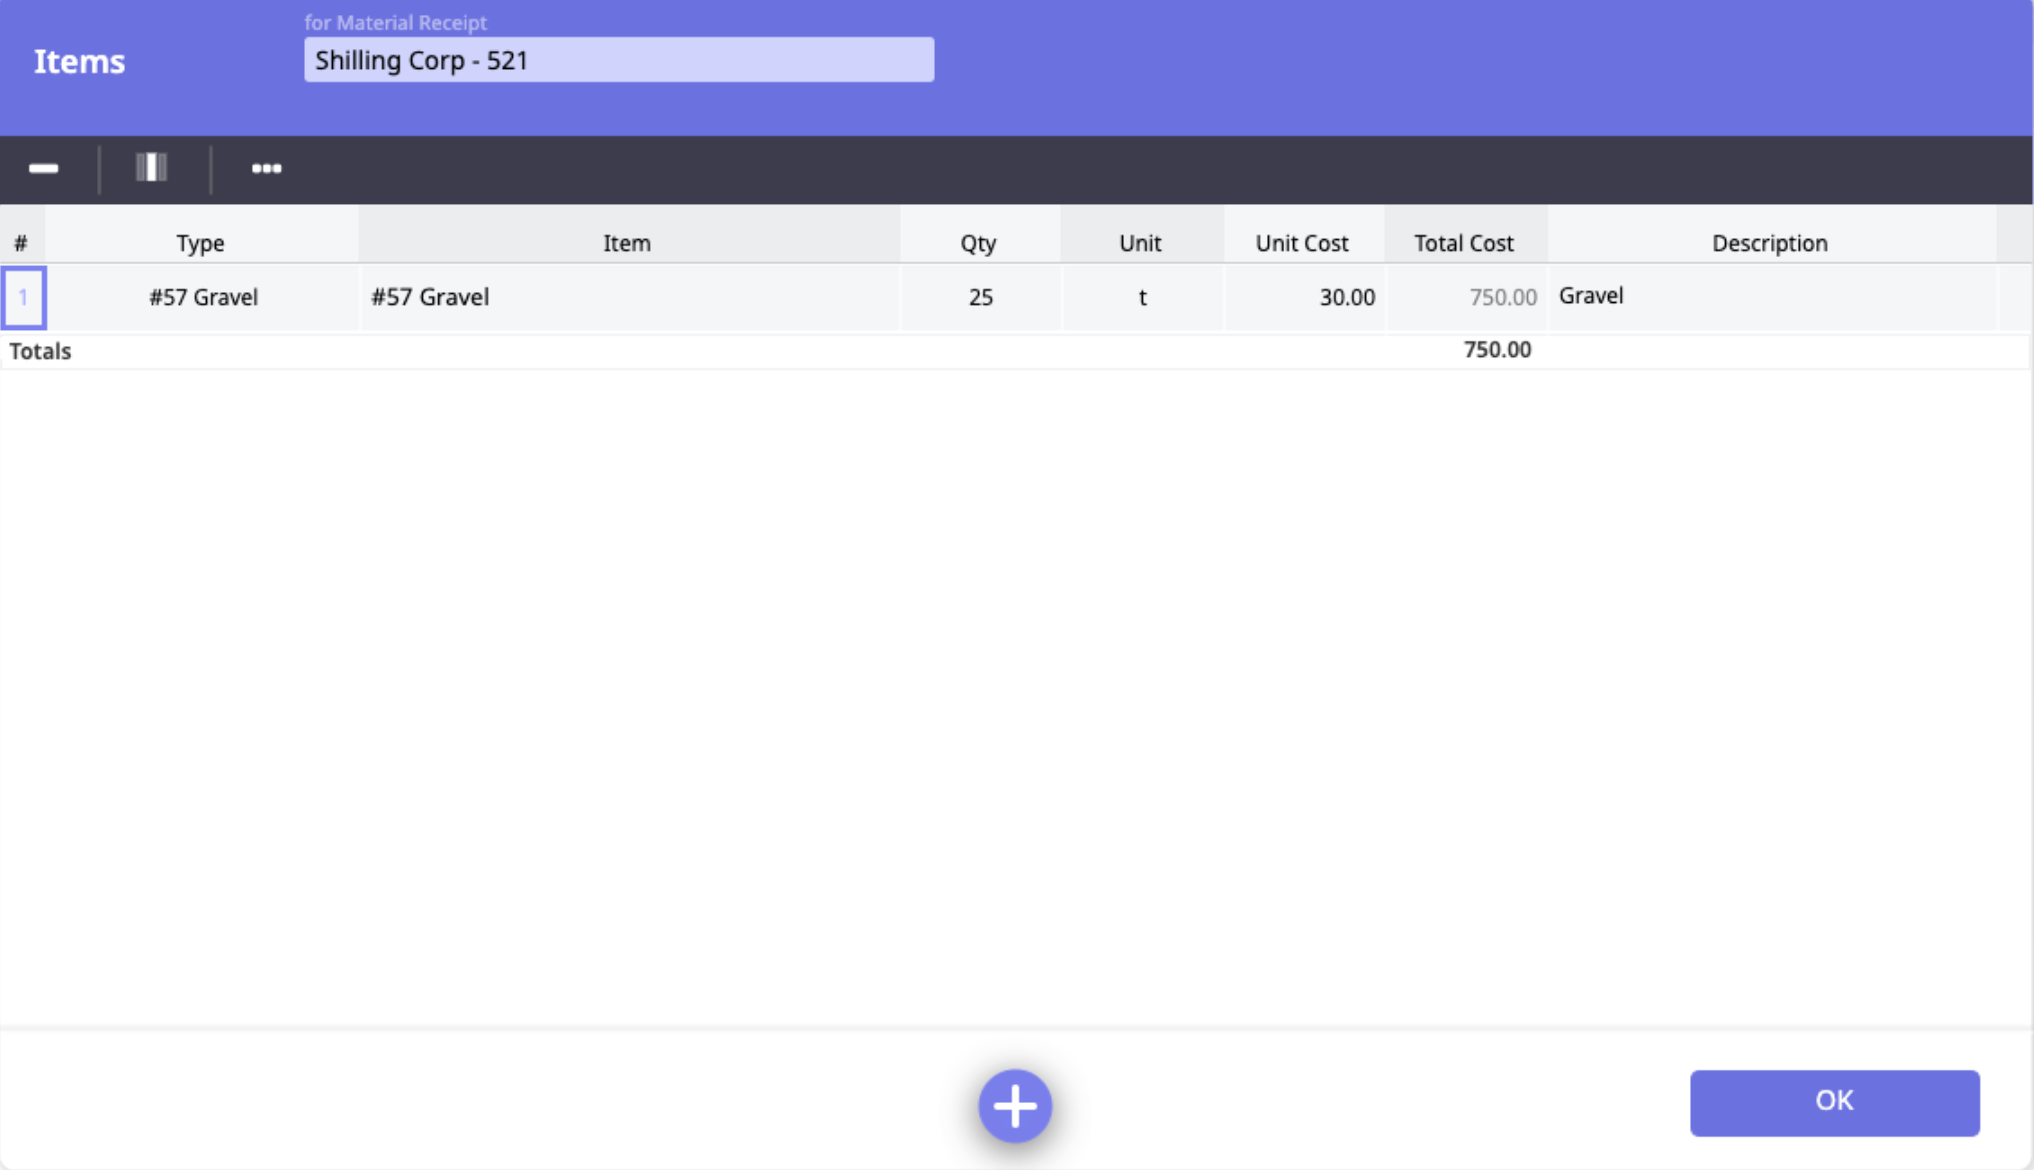
Items Received: The number displayed in this column indicates the number of receipts that have been associated with this task. Click into this column to open the Items dialogue. Additional items can be added here, if needed.
|
| g. |
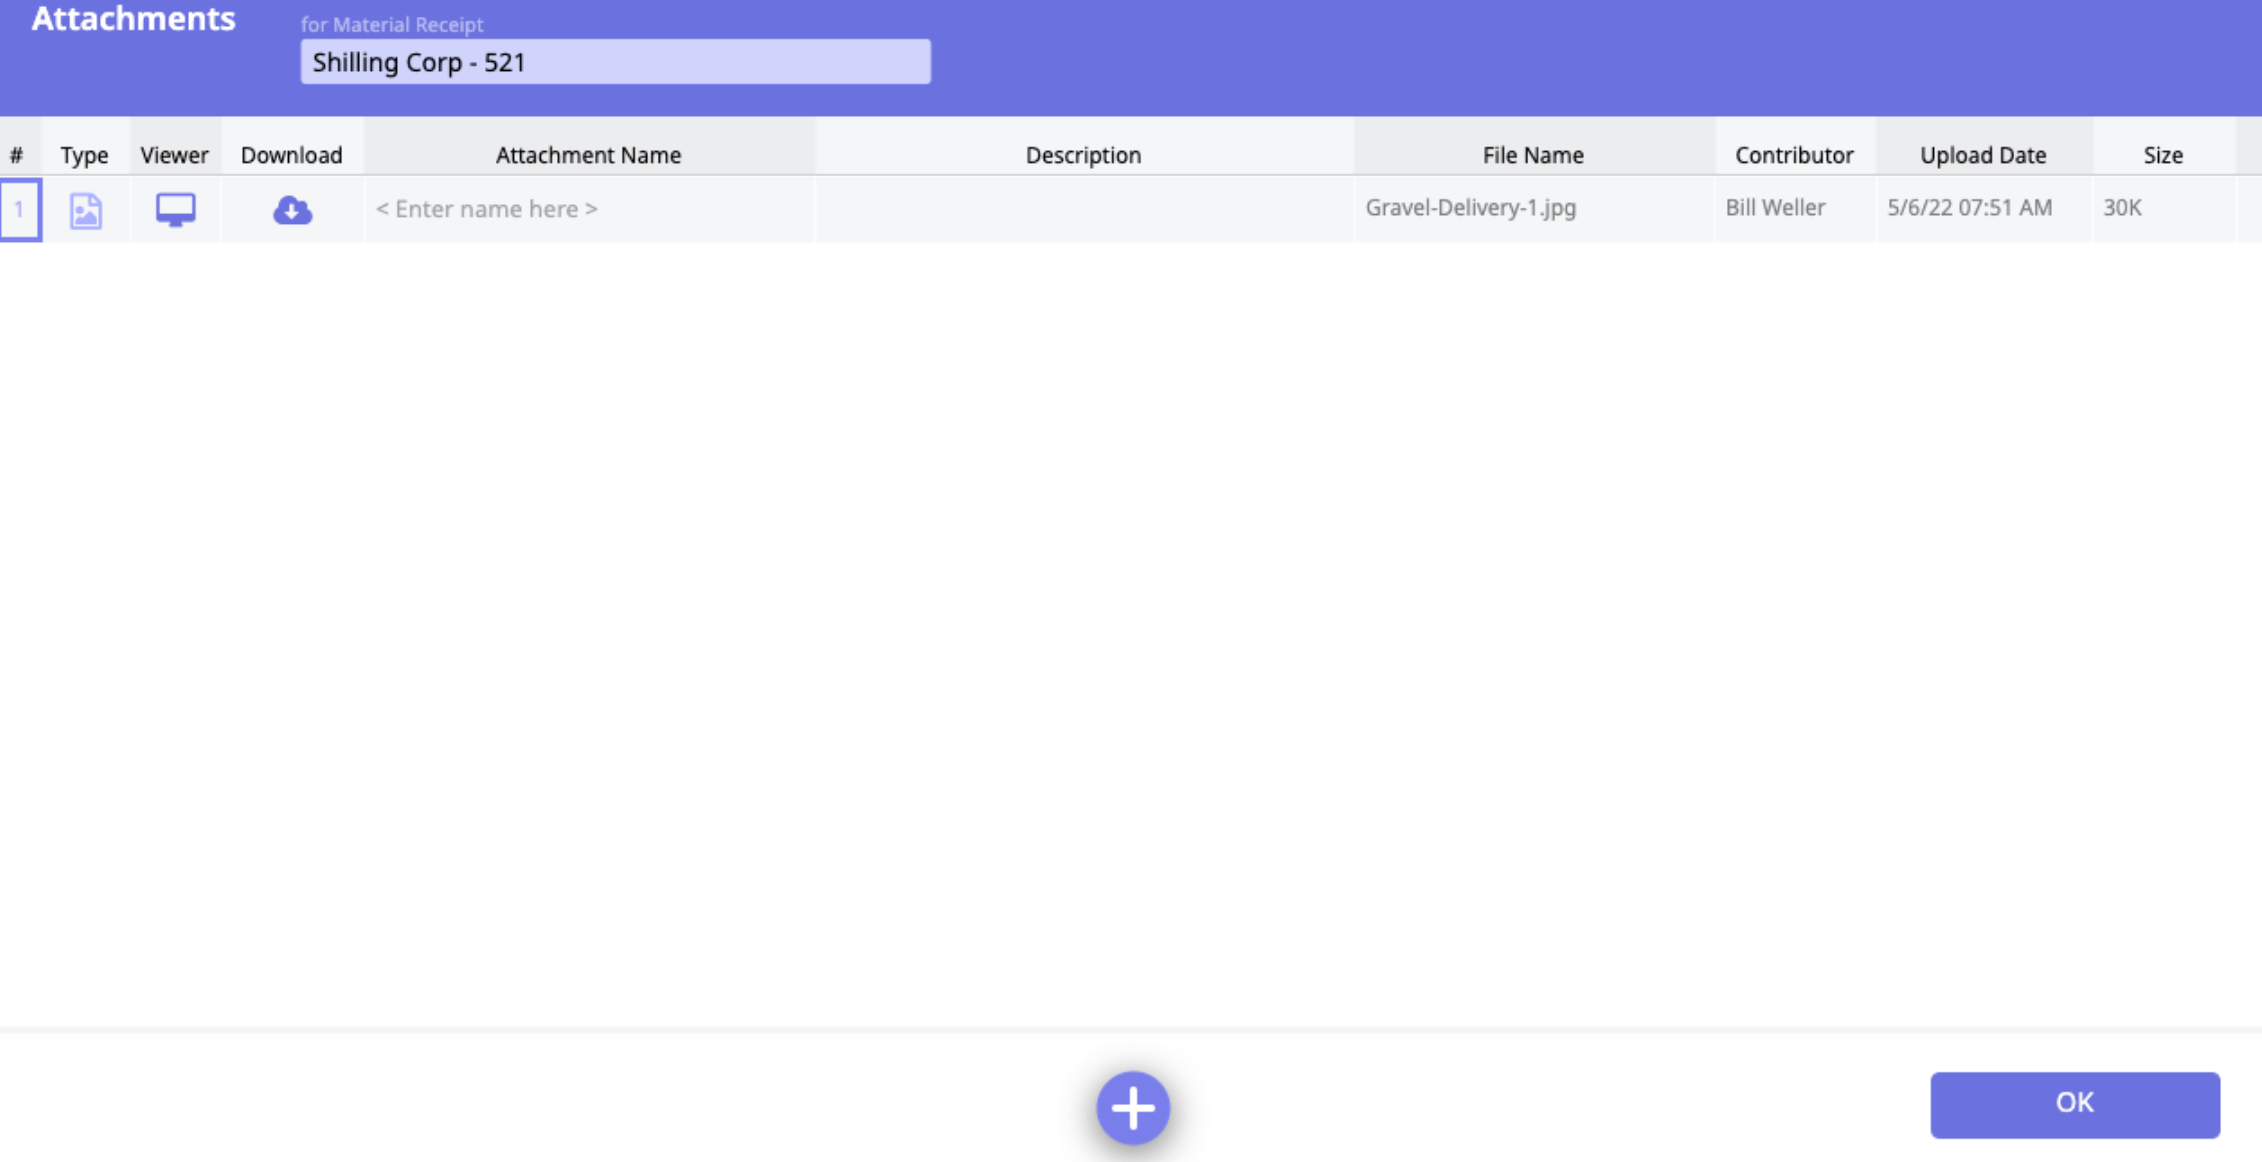
Attachments: The number displayed in this column indicates the number of attachments that have been associated with this task. These may be photos of receipts or of items received, for example. Click into this column to open the Attachments dialogue and view or download attachments. Additional attachments can be added here, if needed.
 |
| h. |
Add a Material Receipt Entry: Click this "+" button to add a new material receipt entry to the log. First you will be prompted to select a vendor. If the desired vendor is not in the listing, then can be added here. Optionally, enter a project and task. Add any materials received in the Items dialogue and upload any receipts/images in the Attachments dialogue. |
| i. |
OK Button: Click the OK button to save the entry. |
Comments
0 comments
Please sign in to leave a comment.