| a. |
Open a project. Select the More Options icon view from the main navigation.
 |
| b. |
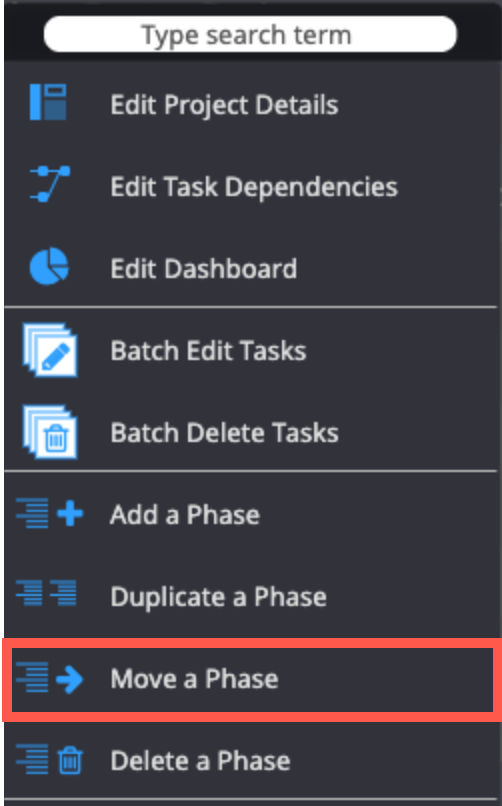
The More Options menu opens. Select Move a Phase from the menu.
 |
| c. |
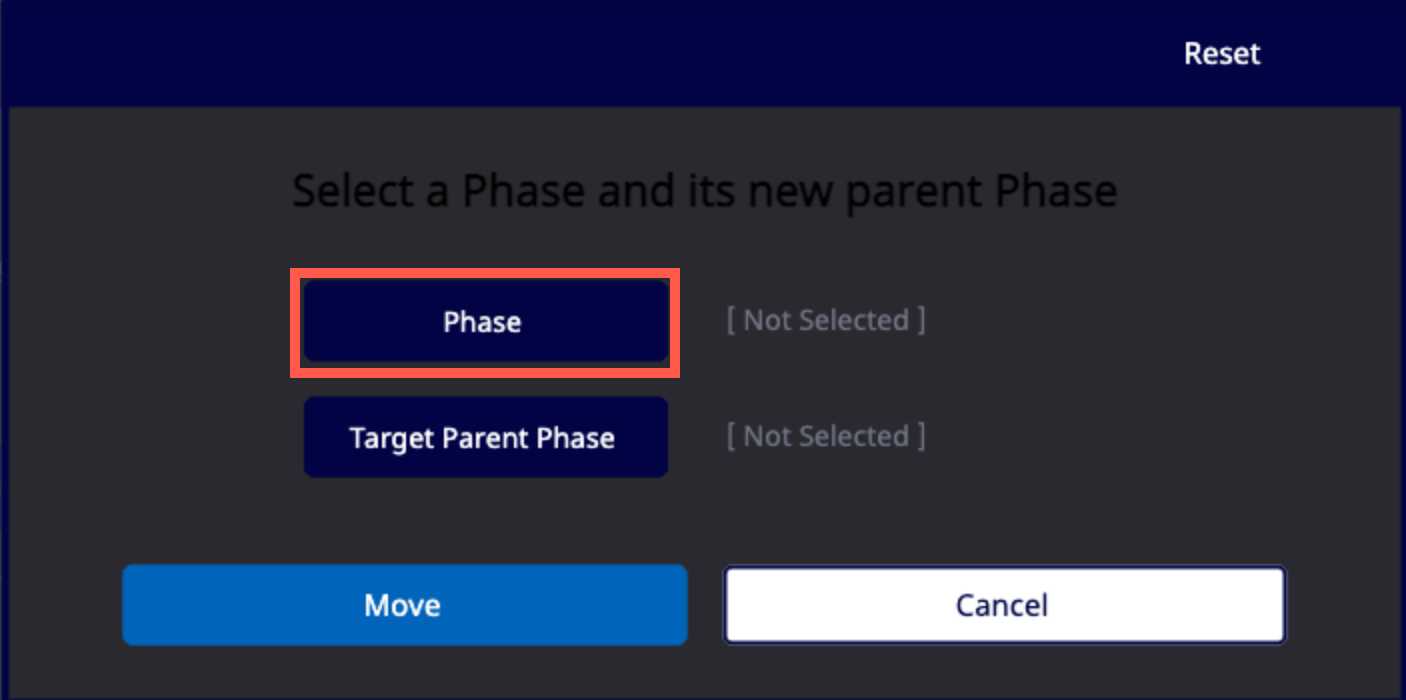
The Move Phase window opens. Click the Phase button.
|
| d. |
The Select Phase window opens. Choose the phase that will be moved from the hierarchy listing by clicking on the Select button.
 |
| e. |
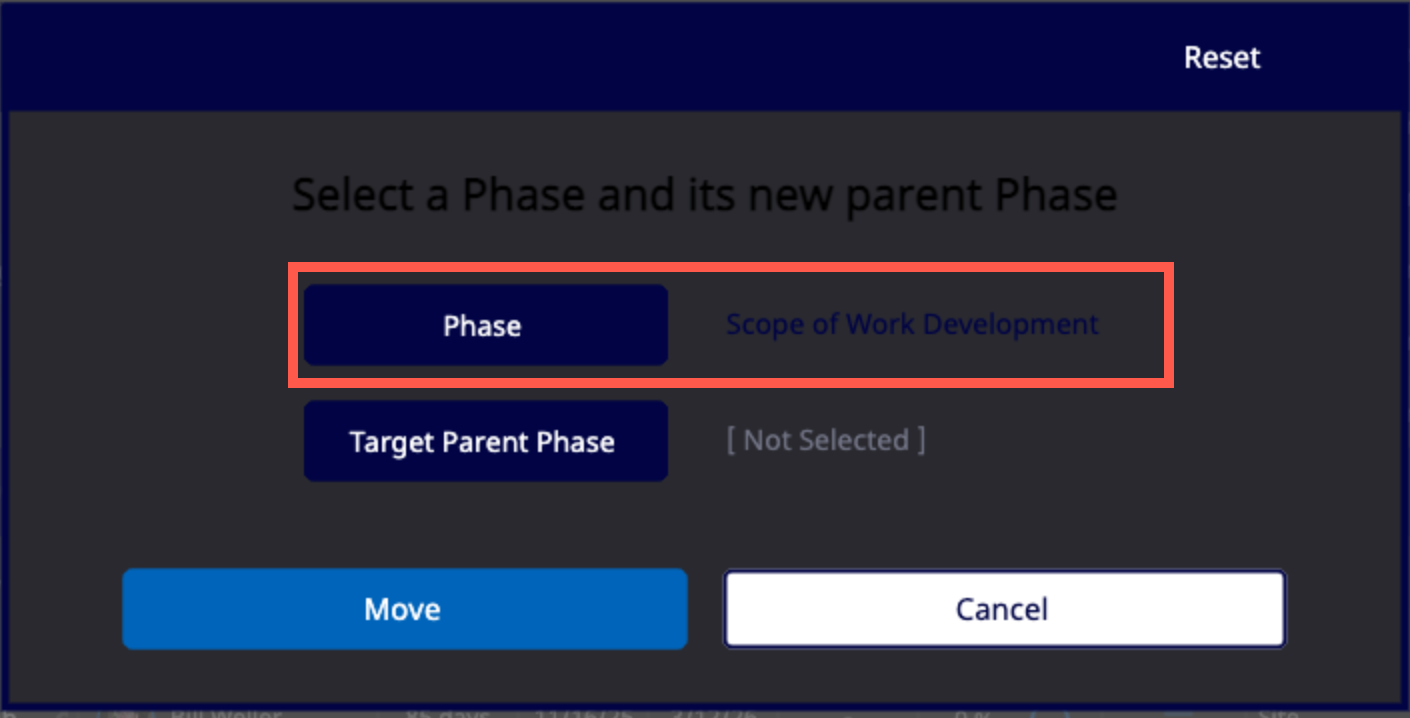
The selected phase now appears on the Move Phase window.
 |
| f. |
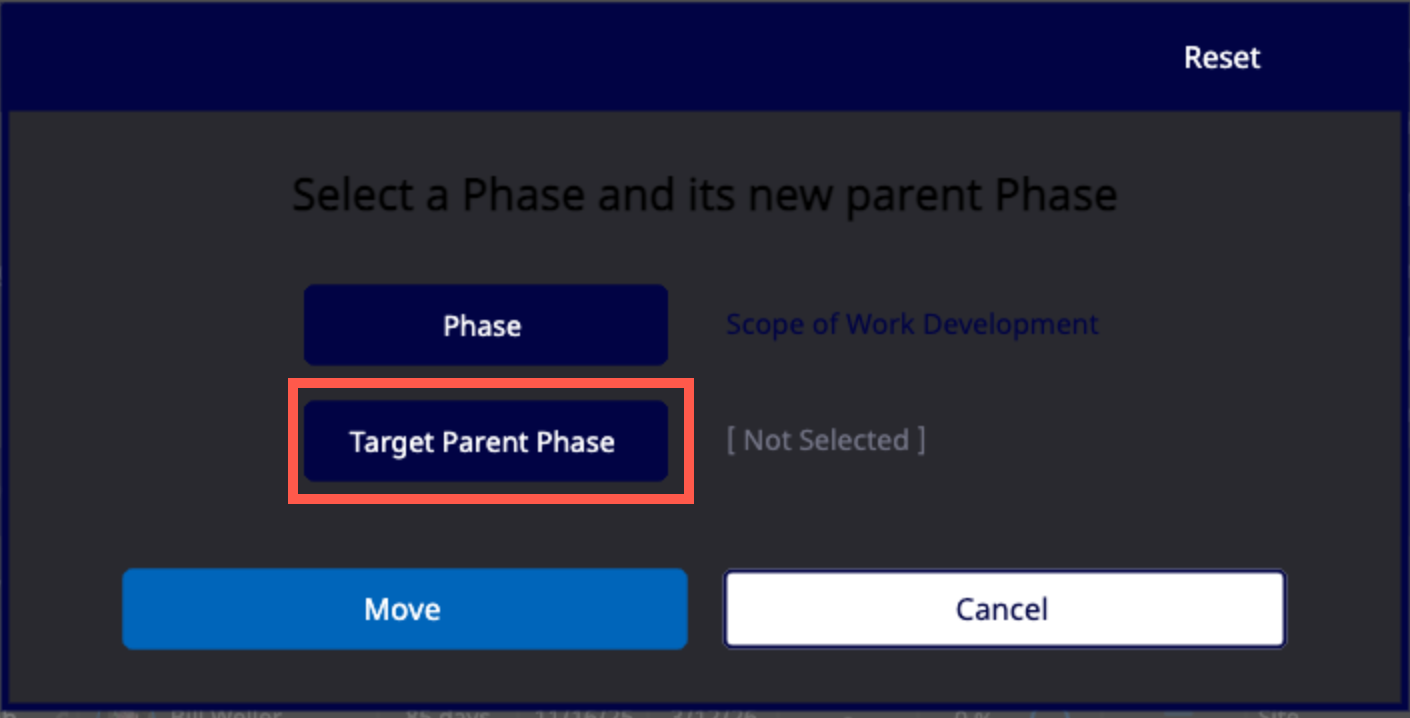
Next click the Target Parent Phase button to choose the phase that will become the new parent phase.
 |
| g. |
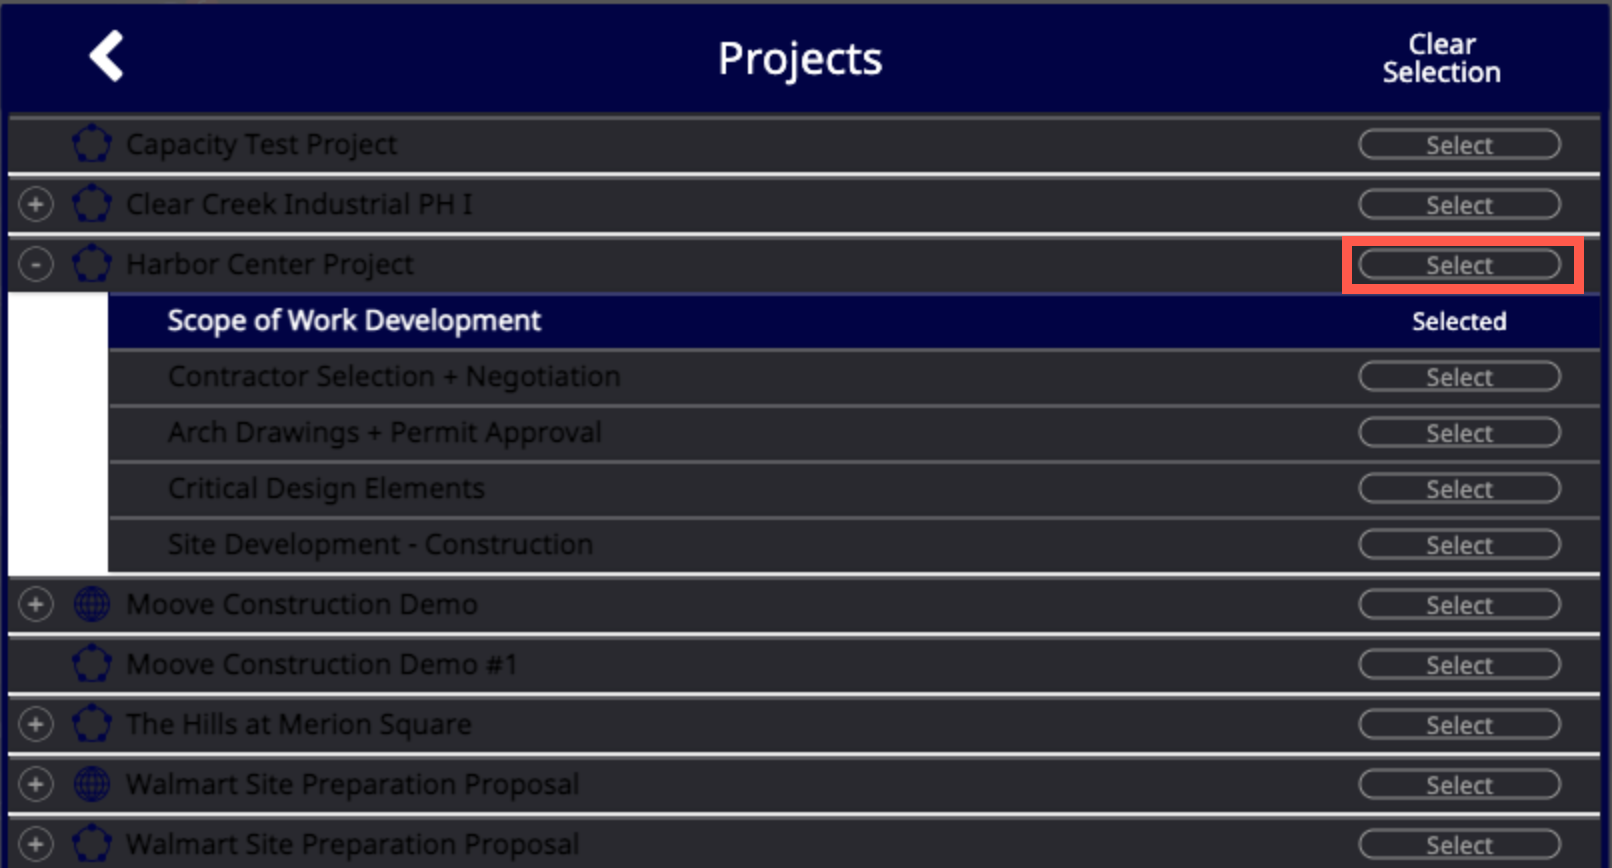
The Select Phase window opens. If the phase will not have a parent (i.e. it is going to the root level of the project) choose the project’s title as the new parent. Click the Select button for the phase or project that the phase will now reside within.
 |
| h. |
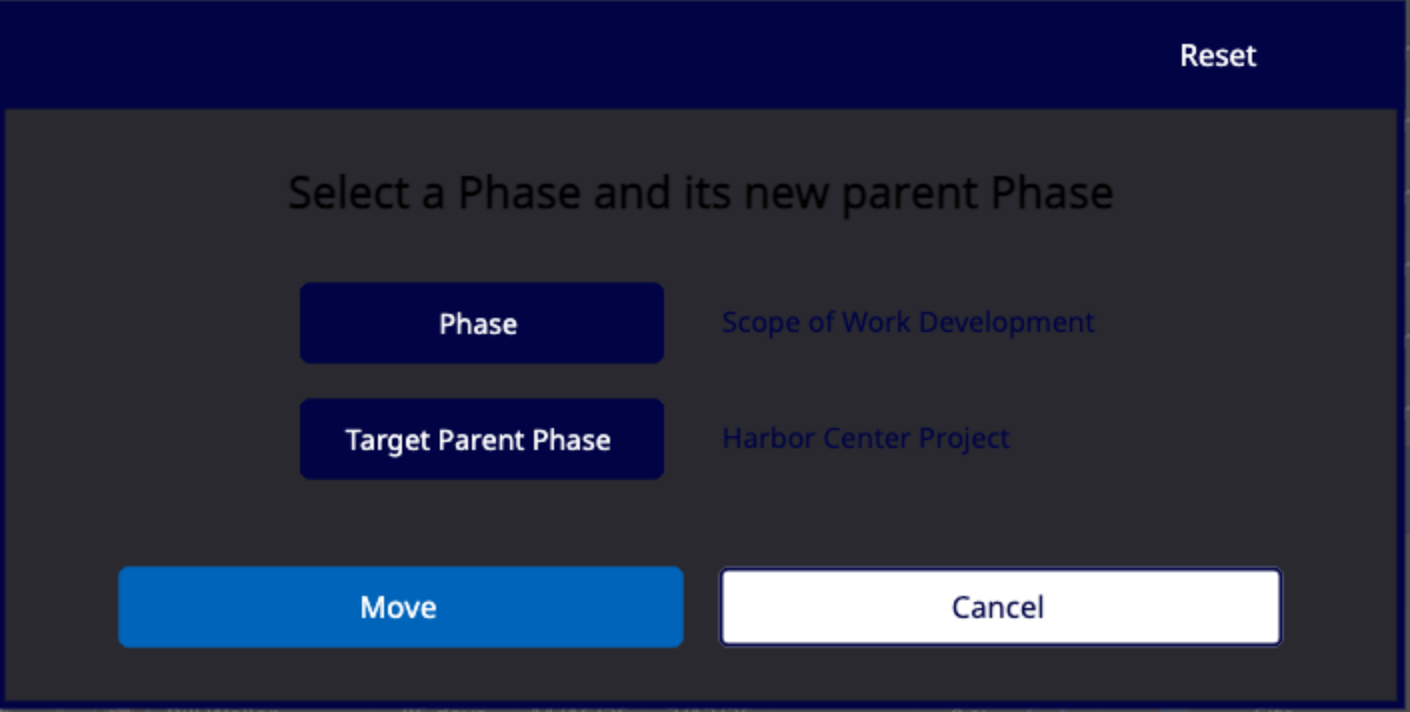
The selected phase now appears on the Move Phase window beside the Target Parent Phase button.To modify selections, click on either the Phase or Target Parent Phase and revise, or click Reset to erase selections for both.
 |
| i. |
Click Move to enact changes in the project.
NOTE: Moving a phase from one project to another project will remove the phase from the original project. If you would like to copy one phase from a project to another, first duplicate phase, and then move the copy to a new project. |
Comments
0 comments
Please sign in to leave a comment.